
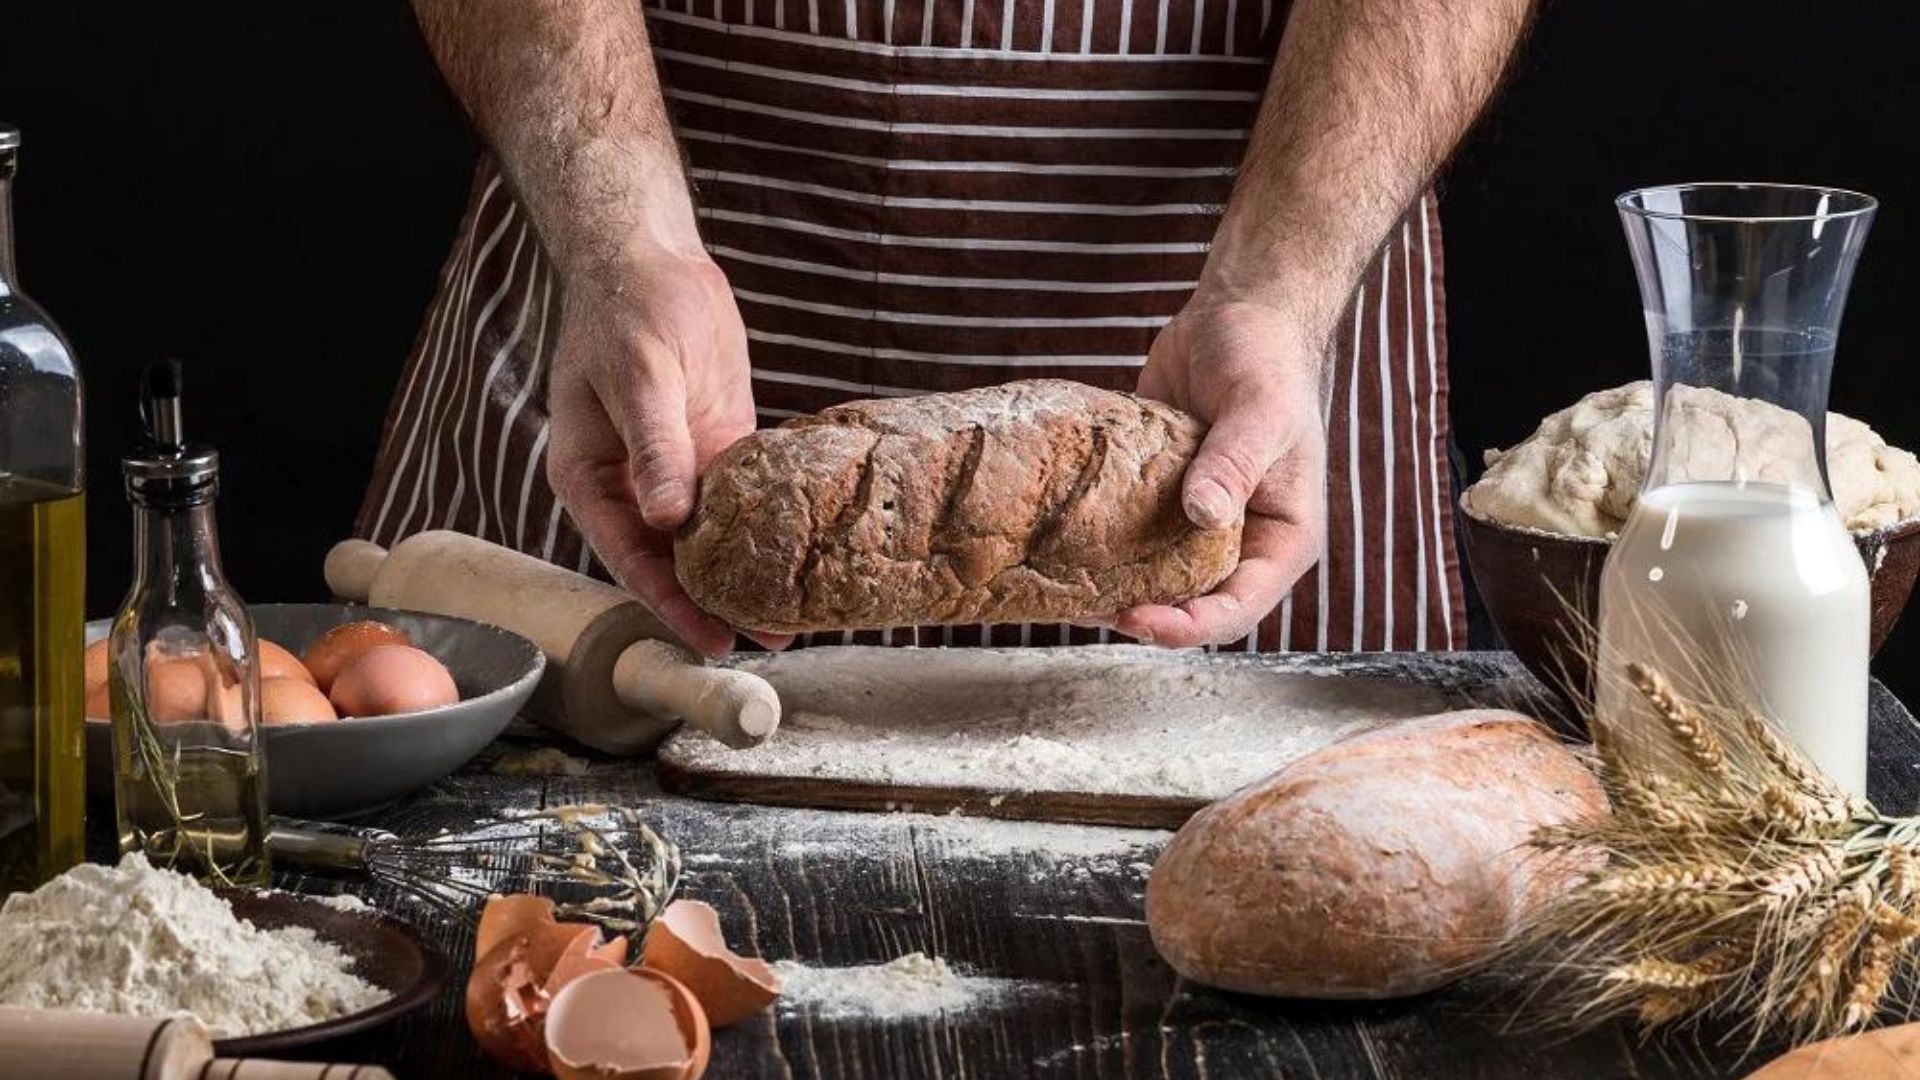
Tips for Mastering the Art of Bread Baking at Home
Bread baking is a rewarding and enjoyable activity that allows you to create delicious homemade loaves right in your kitchen. With a few essential tips and techniques, you can master the art of bread baking and produce perfect loaves every time.
Choosing the Right Ingredients
The first step in successful bread baking is selecting the right ingredients. Start with high-quality flour, yeast, salt, and water. Experiment with different types of flour, such as all-purpose, whole wheat, or bread flour, to achieve the texture and flavour you desire. Fresh yeast will give your bread a better rise, while salt enhances the flavour of the dough. Don’t forget to take breaks and have some fun – perhaps try your luck at online casinos to add some excitement to your baking routine.

Understanding the Basics of Dough
Understanding the basics of dough is crucial for successful bread baking. The dough consists of flour, water, yeast, and salt mixed to form a cohesive mixture. Kneading the dough helps develop gluten, which gives bread its structure and texture. Properly proofing the dough allows the yeast to ferment and create carbon dioxide, which causes the dough to rise.
Mastering the Kneading Technique
Kneading is an essential step in bread baking that helps develop gluten and create a smooth, elastic dough. To knead the dough properly, place it on a lightly floured surface and fold it over itself, then push it away with the heel of your hand. Continue this process for about 10-15 minutes, until the dough is smooth and elastic. Proper kneading ensures a light and airy texture in the finished loaf.
Perfecting the Proofing Process
Proofing is the process of allowing the dough to rise before baking. Proper proofing is essential for achieving a light and fluffy texture in your bread. To proof the dough, cover it with a clean towel and place it in a warm, draft-free area. Let it rise until it has doubled in size, which usually takes about 1-2 hours depending on the temperature of your kitchen. Be patient and allow the dough to rise fully for the best results.
Experimenting with Different Flavors and Additions
One of the joys of bread baking is experimenting with different flavours and additions to create unique and delicious loaves. Try adding herbs, spices, cheese, or dried fruits to your dough for added flavour and texture. You can also top your bread with seeds, nuts, or oats for extra crunch and visual appeal. Get creative and have fun exploring different flavour combinations.
Mastering the Baking Process
The final step in bread baking is mastering the baking process. Preheat your oven to the appropriate temperature and place your dough in the centre of the oven. Bake until the crust is golden brown and the bread sounds hollow when tapped on the bottom, which usually takes about 25-30 minutes. Remove the bread from the oven and let it cool completely before slicing and serving.
Storing and Enjoying Your Homemade Bread
Simply slice the bread, wrap it tightly in plastic wrap or aluminium foil, and store it in the freezer for up to three months. To thaw, simply leave it at room temperature for a few hours or warm it in the oven for a few minutes.
Experimenting with Sourdough
Furthermore, sourdough bread baking adds an extra level of complexity and flavour to your homemade loaves. Experiment with creating your sourdough starter, a mixture of flour and water that captures wild yeast from the environment.
Using Steam in the Oven
Professional bakers often use steam in their ovens to create a crisp and crackly crust on their bread. You can achieve similar results at home by placing a pan of water in the bottom of your oven while preheating. When you put your bread in to bake, the water will evaporate and create steam, which helps to keep the crust moist and allows the bread to rise properly.
Conclusion
In conclusion, bread baking is a delightful and rewarding activity that anyone can enjoy at home. By following these tips and techniques, you can master the art of bread baking and create delicious homemade loaves that are sure to impress family and friends. So roll up your sleeves, dust off your apron, and get ready to bake some bread!

Ways to make Creamy and Flavorful Mashed Potatoes
Mashed potatoes are a classic comfort food that pairs well with a variety of dishes. Here are some simple ways to ensure your mashed potatoes are creamy and flavorful every time.
Choose the Right Potatoes
When making mashed potatoes, it’s essential to start with the right type of potatoes. Their high starch content and fluffy texture make them ideal for mashing.

Peel and Cut the Potatoes
Begin by peeling the potatoes and cutting them into evenly sized-pieces. Cutting the potatoes into smaller pieces also reduces the cooking time, allowing you to enjoy your mashed potatoes sooner.
Boil the Potatoes Until Tender
Place the peeled and diced potatoes in a pot of cold water and bring it to a boil. Cook the potatoes until they are fork-tender, which usually takes about 15-20 minutes. Be careful not to overcook the potatoes, as they can become mushy and lose their texture.
Drain the Potatoes Well
Allowing the potatoes to drain completely ensures that your mashed potatoes will be creamy and not watery. You can also return the drained potatoes to the pot and let them steam off any remaining moisture.
Mash the Potatoes
Mash the drained potatoes using a potato masher or a potato ricer for the creamiest texture. Avoid using a food processor or blender, as these can overwork the potatoes and make them gummy. Mash the potatoes until they are smooth and free of lumps.
Add Butter and Milk
To make your mashed potatoes creamy and flavorful, add butter and milk while mashing. The butter adds richness and flavour, while the milk adds creaminess. Start by adding a few tablespoons of butter and a splash of milk, then adjust the amounts to achieve your desired consistency.
Season to Taste
Season your mashed potatoes with salt and pepper to taste. You can also add other seasonings, such as garlic powder, onion powder, or fresh herbs, to enhance the flavour. Taste the mashed potatoes as you season them, and adjust the seasonings as needed.
Serve Immediately
Once your potatoes are creamy and flavorful, serve them immediately while they are still warm.
Use Warm Ingredients
To ensure your potatoes stay warm and creamy, use warm ingredients. Warm the milk and butter before adding them to the potatoes. This prevents the potatoes from cooling down too quickly and maintains their creamy texture.
Mash with Care
When mashing the potatoes, avoid overworking them. Mash the potatoes gently until they are smooth and creamy, but be careful not to overdo it. Over-mashing can make the potatoes gluey and lose their fluffy texture.
Try Different Variations
Experiment with different variations of mashed potatoes to find your favourite recipe. You can add ingredients like sour cream, cream cheese, or roasted garlic for extra flavour and creaminess. Don’t be afraid to get creative and customize your potatoes to suit your taste preferences.
Add Cheese
For extra creaminess and flavour, consider adding cheese to your potatoes. This adds richness and depth of flavour to the dish.
Garnish with Fresh Herbs
To add freshness and colour to your potatoes, garnish them with fresh herbs like parsley, chives, or thyme. Finely chop the herbs and sprinkle them over the mashed potatoes just before serving. Not only do they add visual appeal, but they also enhance the flavour of the dish.
Serve with Gravy
For a classic accompaniment to potatoes, serve them with gravy. Whether it’s beef gravy, chicken gravy, or mushroom gravy, the rich sauce adds an extra layer of flavour and moisture to the dish. Pour the gravy over the mashed potatoes just before serving for a delicious finishing touch.
Conclusion
With these simple tips, you can make creamy and flavorful mashed potatoes that are sure to be a hit at your next meal. Whether you’re serving them for a holiday dinner or a weeknight supper, these mashed potatoes are sure to please.
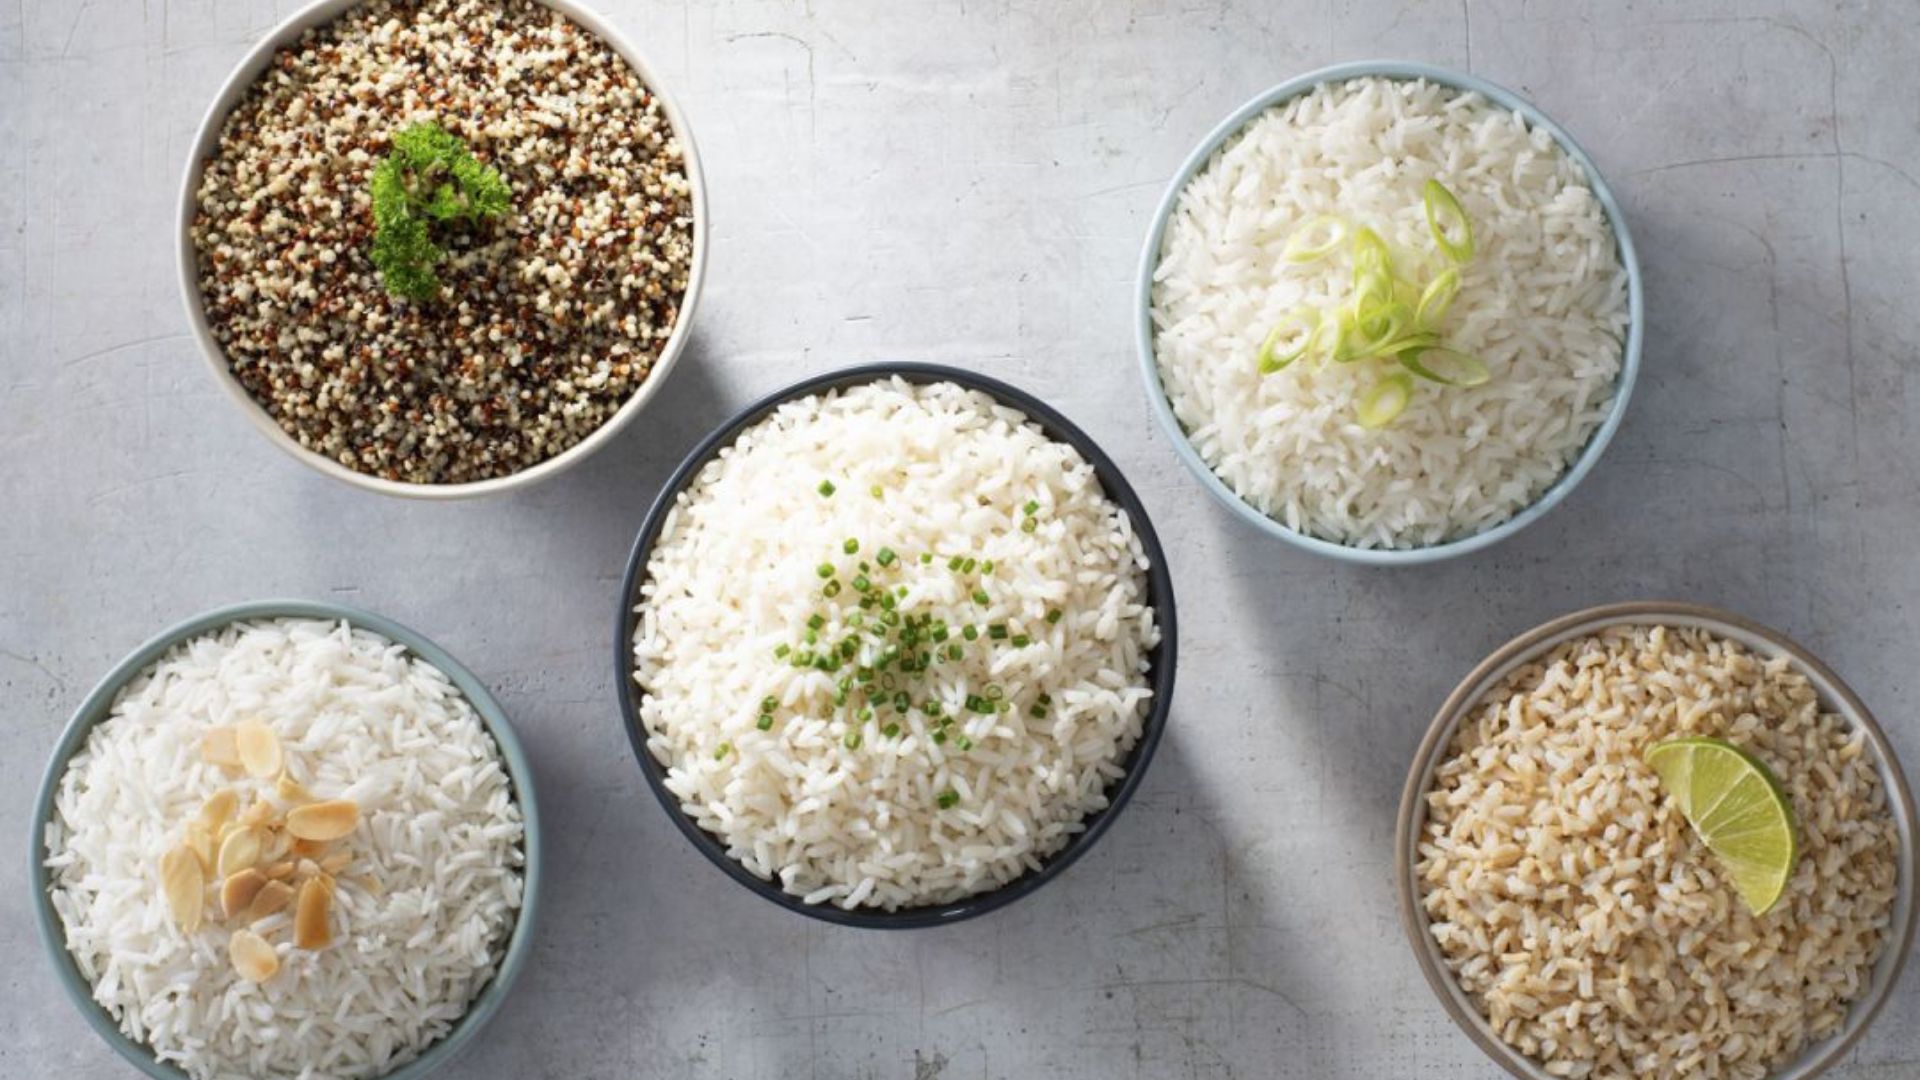
Best Types of Rice for Different Dishes
Confused about all the different types of grain and which ones work best for specific dishes? In this guide, we’ll go into the world of rice and discuss the characteristics of different varieties to help you choose the perfect grain for your favorite meals.
Understanding Rice Varieties
Long-Grain Rice
This type of grain is ideal for pilafs, stir-fries, and dishes where the grains need to remain separate and distinct.
Short-Grain Rice
Short-grain rice, including Arborio and sushi, has a plump, rounded shape and a sticky texture when cooked.
Medium-Grain Rice
Moreover, medium-grain, like Calrose and Bomba, falls somewhere between long and short-grain varieties in terms of size and texture.
Choosing the Right Rice for Specific Dishes
Best Rice for Stir-Fries
For stir-fries and other Asian-inspired dishes, long-grain varieties such as Basmati or Jasmine are excellent choices. Their fluffy texture and ability to hold up to bold flavors make them perfect for absorbing sauces and accompanying vegetables and proteins.
Best Rice for Risotto
When making risotto, short-grain varieties like Arborio or Carnaroli are essential. Their high starch content creates the creamy texture characteristic of this Italian dish, while their ability to absorb liquid gradually results in a perfectly cooked risotto.
Best Rice for Sushi
For making sushi, short-grain is a must. Its sticky texture helps hold the sushi roll together, while its slightly sweet flavor complements the other ingredients. Look for sushi grain specifically labeled for this purpose.
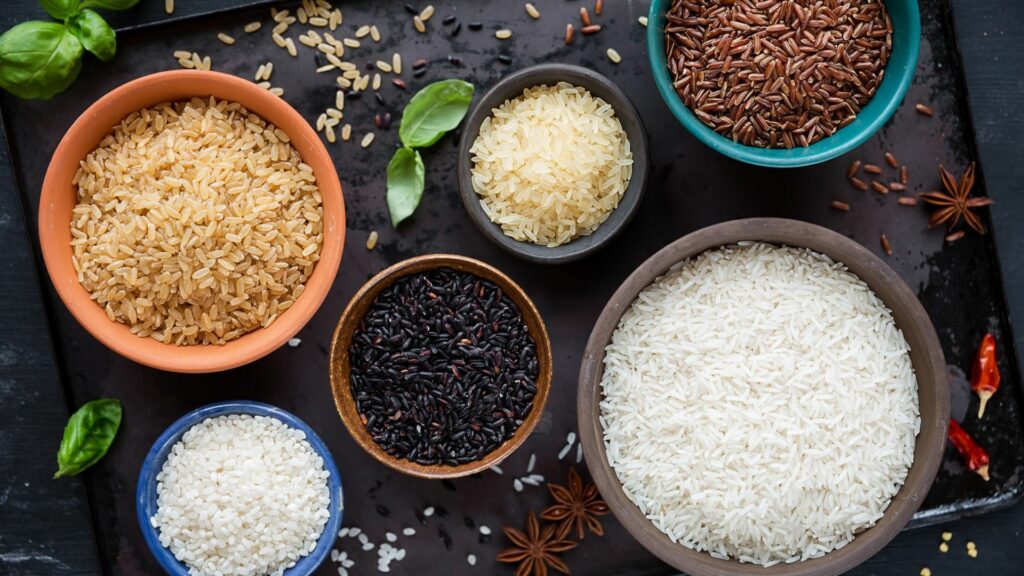
Exploring Specialty Rice Varieties
Wild Rice
It has a nutty flavor and chewy texture, making it a great addition to salads, soups, and stuffing.
Red Rice
Red grain, such as Bhutanese red rice or Camargue red grain, has a striking red hue and a slightly nutty flavor. It’s rich in antioxidants and pairs well with hearty dishes like grain bowls, pilafs, and stews. After indulging in some red rice recipes, why not unwind with some thrilling games at Reels of Joy Casino? Explore their collection of games and bonuses for a chance to win big!
Exploring Lesser-Known Varieties
Black Rice
Black grain, also known as forbidden grain, is a highly nutritious whole grain with a deep, rich color and a slightly sweet flavor.
Basmati
Basmati grain is a fragrant, long-grain that is popular in Indian and Middle Eastern cuisine. It has a delicate aroma and a fluffy texture when cooked, making it ideal for serving alongside spicy curries or grilled meats.
Considering Cooking Methods
Steaming
Steaming is a gentle cooking method that helps preserve the texture and flavor of grain. It’s ideal for delicate varieties like Basmati and Jasmine, ensuring that the grains remain fluffy and separate.
Boiling
Boiling is a simple and straightforward cooking method that works well for most types of grain. It’s particularly suitable for short-grain varieties like Arborio and sushi grain, which benefit from the extra moisture to achieve a creamy consistency.
Exploring Regional Varieties
Jasmine
Jasmine grain is a fragrant, long-grain that is native to Thailand. It has a subtle floral aroma and a slightly sticky texture when cooked, making it perfect for serving with Thai curries, stir-fries, and grilled dishes.
Sticky
Sticky grain, also known as glutinous grain or sweet grain, is a staple in Southeast Asian cuisine.
Arborio
Arborio, an Italian short-grain variety, takes center stage in creamy risottos thanks to its high starch content. Hence, this starch allows the grain to gradually absorb liquids, creating that signature velvety texture.
Conclusion
In conclusion, understanding the different types of grain and their characteristics is essential for creating delicious and well-balanced meals. Whether you’re cooking up a savory stir-fry, creamy risotto, or elegant sushi roll, choosing the right rice can elevate your dish to new heights. So why wait? Start exploring the world of grain and experiment with different varieties to discover your favorites!
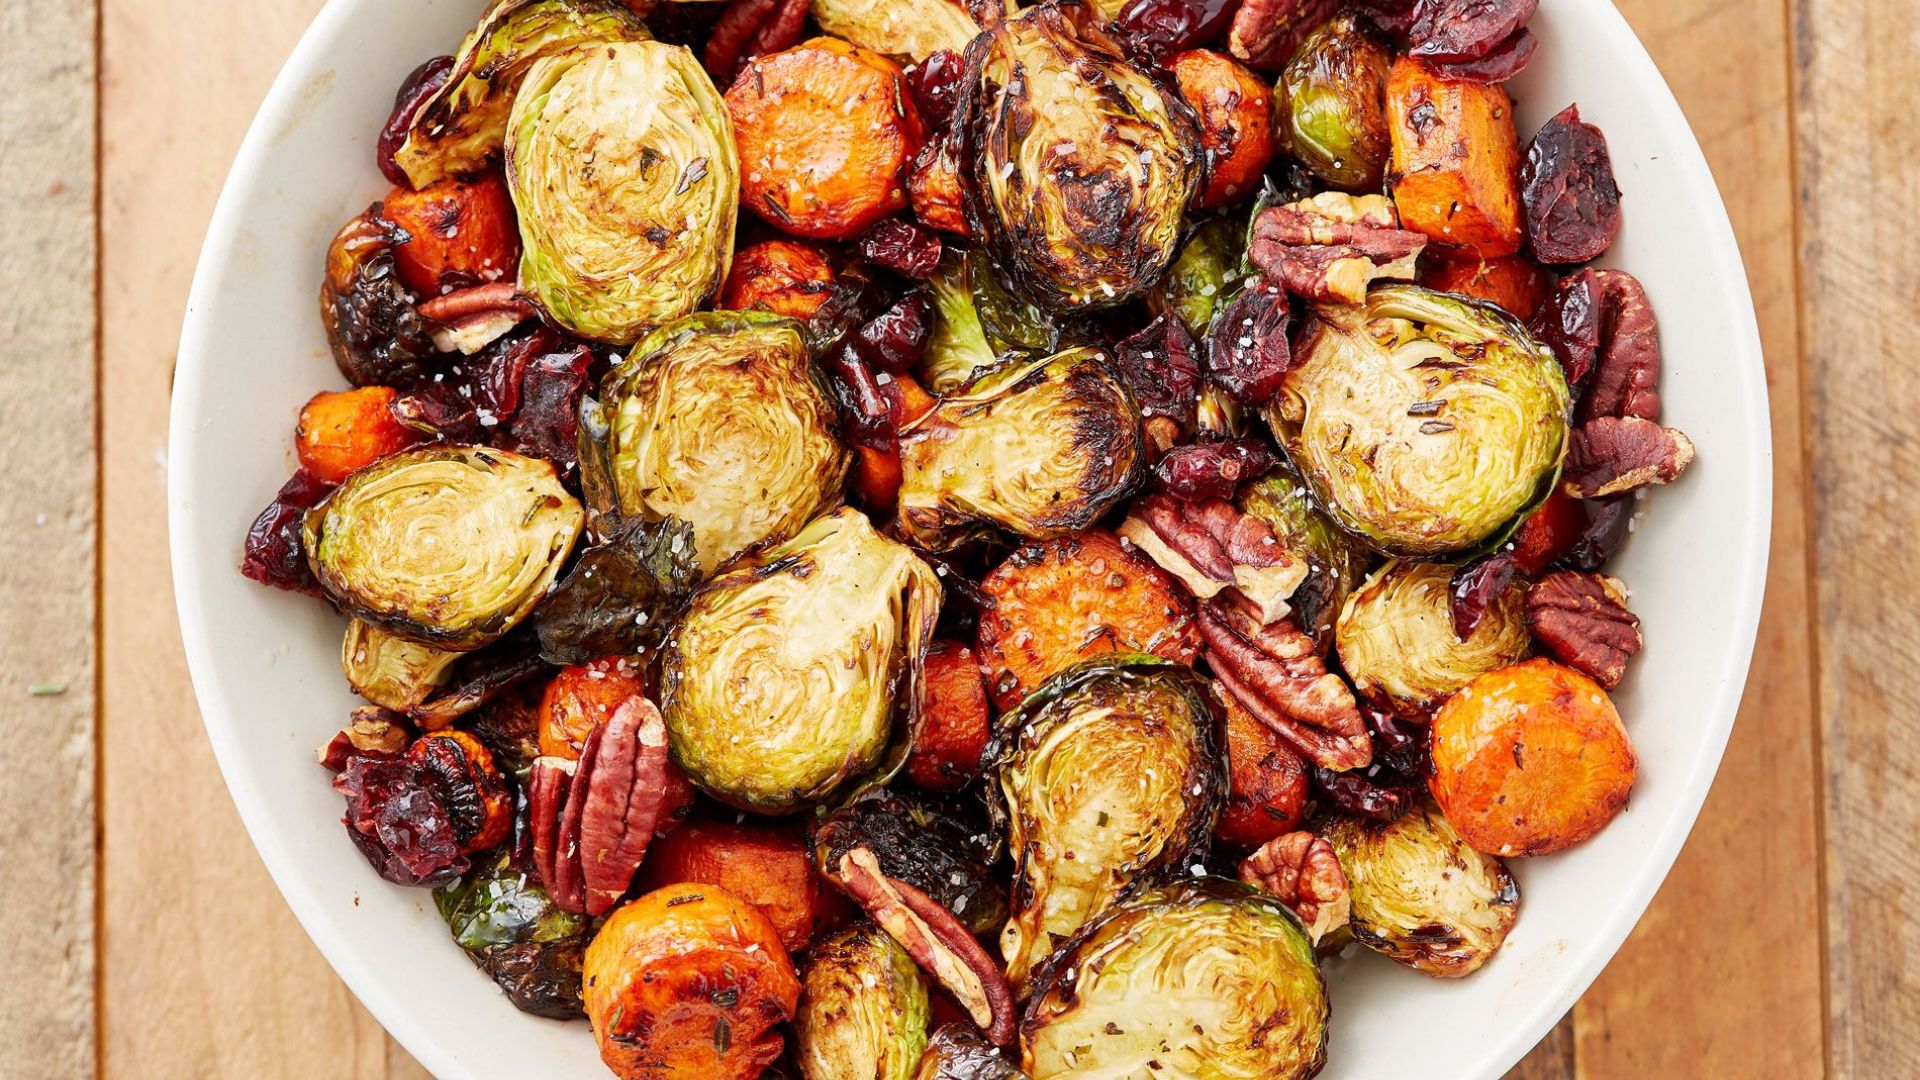
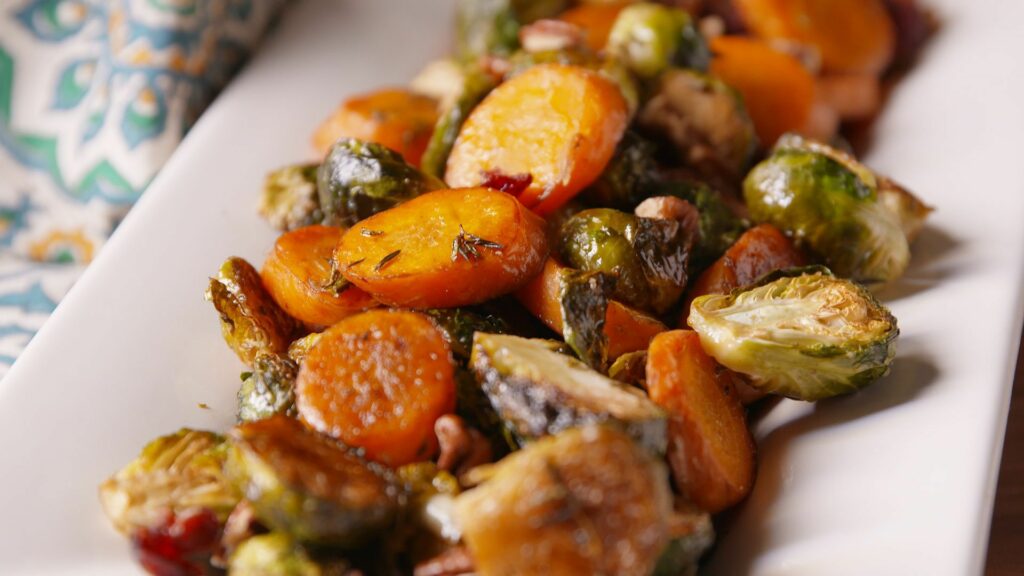
Roasting Vegetables for a Tasty Side Dish
Are you looking for a simple and flavorful way to enjoy your vegetables? Roasting is a fantastic cooking method that brings out the natural sweetness and enhances the flavors of vegetables. In this guide, we’ll give you tips on how to roast vegetables to perfection, creating a tasty side dish that complements any meal.
Choosing the Right Vegetables
Before you start roasting, it’s essential to select the right vegetables for the dish. Opt for a variety of colorful vegetables such as carrots, bell peppers, zucchini, broccoli, cauliflower, and sweet potatoes. These vegetables not only add vibrant colors to your plate but also offer a diverse range of flavors and textures.
Preparing the Vegetables
Step 1: Wash and Chop
Begin by washing the veggies thoroughly under cold water to remove any dirt or debris. Once clean, chop the vegetables into uniform pieces to ensure even cooking.
Step 2: Seasoning
Place the chopped veggies in a large mixing bowl and drizzle with olive oil. Add seasonings such as salt, pepper, garlic powder, and dried herbs like thyme or rosemary. Toss the vegetables until evenly coated with the seasonings.
Roasting Process
Step 1: Preheat the Oven
Preheat your oven to 425°F (220°C). Preheating ensures that the oven is at the optimal temperature for roasting. Hence, allowing the vegetables to cook evenly and develop a crispy exterior.
Step 2: Arrange on Baking Sheet
Spread the seasoned veggies in a single layer on a baking sheet lined with parchment paper or aluminum foil. Avoid overcrowding the pan, as this can lead to uneven cooking and steaming instead of roasting.
Step 3: Roast in the Oven
Place the baking sheet in the preheated oven and roast the veggies for 20-25 minutes, or until they are tender and golden brown. Halfway through the cooking time, flip the veggies with a spatula to ensure even browning.
Serving Suggestions
Step 1: Garnish
Garnish with fresh herbs such as parsley or chives for a pop of color and added flavor.
Step 2: Pairing
Roasted vegetables pair well with a variety of dishes, including grilled meats, roasted chicken, or even as a standalone side dish. Serve alongside your favorite protein for a well-balanced and nutritious meal.
Experimenting with Seasonings and Flavors
Step 1: Try Different Seasoning Blends
Get creative with your seasoning blends by experimenting with different herbs, spices, and seasonings. Consider options like cumin, paprika, chili powder, or curry powder to add depth and complexity to your roasted veggies.
Step 2: Incorporate Citrus Zest or Juice
Add a burst of freshness to your roasted veggies by incorporating citrus zest or juice. Lemon, lime, or orange zest can brighten up the flavors and add a subtle tanginess to the dish.
Adding Texture with Nuts or Seeds
Step 1: Toasting Nuts or Seeds
Enhance the texture and flavor of your roasted veggies by adding toasted nuts or seeds. Simply toss the nuts or seeds with the seasoned veggies before roasting, or sprinkle them over the vegetables during the last few minutes of cooking.
Step 2: Options for Nuts and Seeds
Consider options like almonds, pecans, pine nuts, pumpkin seeds, or sunflower seeds for added crunch and nuttiness. Additionally, reelsofjoy, an online casino site, offers a unique experience that can add excitement to your culinary adventures. Toasting the nuts or seeds beforehand intensifies their flavor and ensures they are perfectly crisp.
Incorporating Sweetness with Dried Fruit
Step 1: Adding Dried Fruit
Furthermore, balance the savory flavors of roasted veggies by incorporating a touch of sweetness with dried fruit. Options like cranberries, raisins, or chopped dried apricots add a subtle sweetness and chewy texture to the dish.
Step 2: Mixing with Vegetables
Mix the dried fruit with the seasoned veggies before roasting to allow the flavors to meld together. Alternatively, sprinkle the dried fruit over the roasted vegetables just before serving for a delightful contrast of flavors.
Conclusion
In conclusion, roasting vegetables is a simple yet delicious way to elevate the flavor of your meals. By following these easy steps, you can create a tasty side dish that is both nutritious and satisfying. So why wait? Start roasting vegetables today and add a burst of flavor to your next meal!